

Generate an SSH Key
Generate an SSH key using the Ed25519 algorithm:
ssh-keygen -t ed25519 -C "<your-email-address>"After running the command, you’ll be prompted to choose where to save the key.
Using the default file id_ed25519 will overwrite the previous content, and you may run into trouble with SSH authentication for other clients.
To avoid that, I save my keys in different files:
Enter file in which to save the key (/Users/<your-username>/.ssh/id_ed25519): /Users/<your-username>/.ssh/vps_selfhostingAfter specifying the file in which to save the key, you need to enter a passphrase. Although you can continue without one, I recommend that you add one.
Once you add it, the SSH setup is complete.
For more information about setting up SSH keys, check out this article from GitHub.
Adding SSH Keys to a Hetzner VPS
You now need to add the public key to your Hetzner VPS. You can copy it as follows:
cat .ssh/vps_selfhosting.pub | pbcopyReturn to the VPS configuration page and paste the key.
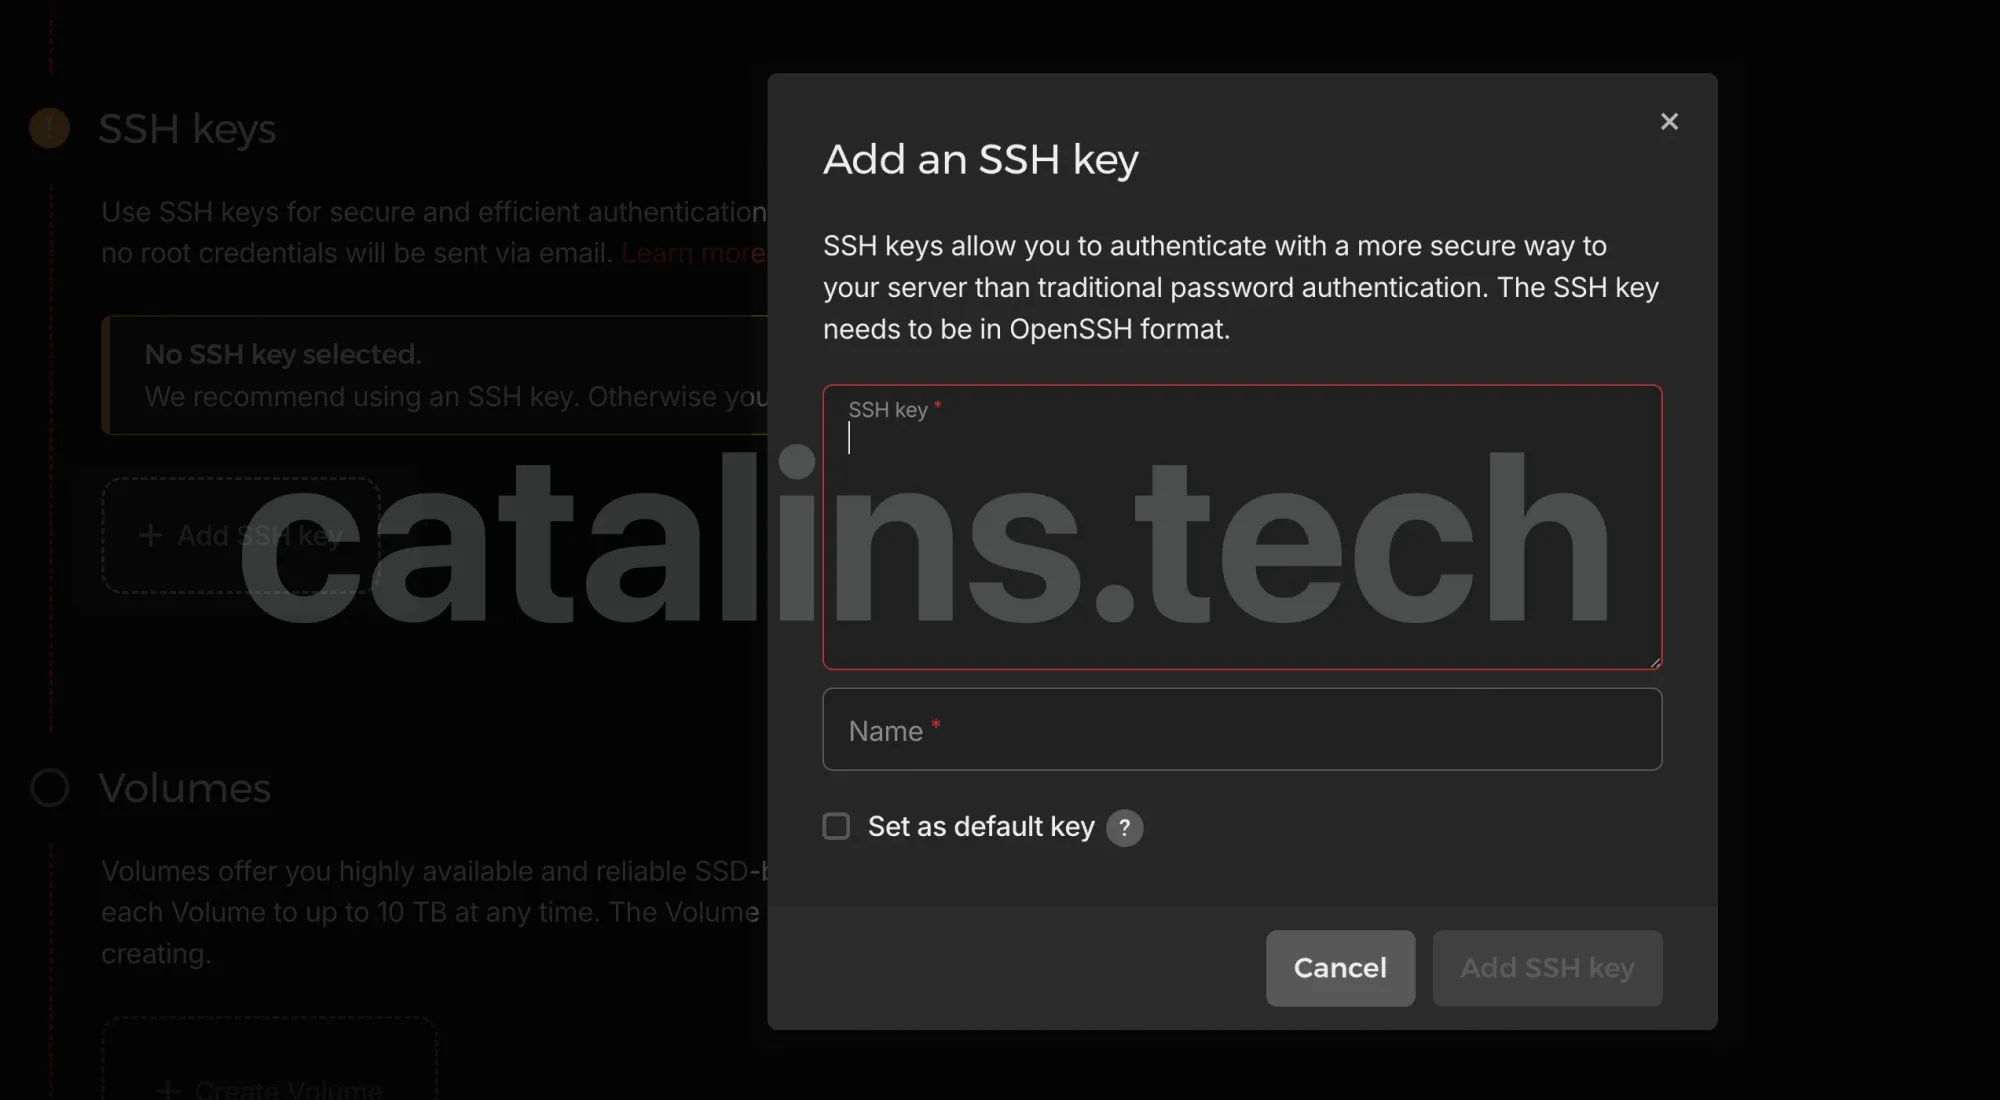
Important: Don't blindly copy my choices. Use the options that fit your needs and requirements.
SSH Into VPS
You can now SSH into your VPS as follows:
ssh root@<your-vps-ip> -i ~/.ssh/vps_selfhostingHowever, passing the SSH key every time you want to access your VPS is annoying. Add the key to the SSH agent:
ssh-add ~/.ssh/vps_selfhostingNow you can run ssh root@<your-vps-ip>.
Create an SSH Host Alias
Even better, create a host alias so you don’t need to type the full command every time.
Open your SSH config file:
vi ~/.ssh/configAnd add the following:
Host <alias> (e.g. myvps)
  HostName <vps-ip>
  User <username>
  IdentityFile ~/.ssh/<key-name>
  IdentitiesOnly yes
  ServerAliveInterval 30
  ServerAliveCountMax 3
Now you can log into your VPS with ssh myvps.