In this article, you will learn about the concept of attribute binding. That is, you will learn how to use dynamic values rather than hardcoded values for attributes.
Attribute binding
First of all, you need to create a Vue instance and add three properties:
- a product name
- an image URL
- a description for the image
The code snippet below does just that.
const app = Vue.createApp({
    data() {
        return {
            product: 'Vue 3 Course!',
            imgURL: 'https://catalins.tech/img',
            imgDescription: 'An image with a desktop computer',
        }
    }
})
Thus, instead of using hardcoded values, you can use dynamic values by using the properties specified in the Vue instance.
Below you can see an <img/> HTML element. If you pay attention, you can see that the src and alt attributes use the properties from the Vue instance.
<img v-bind:src="imgURL" v-bind:alt="imgDescription" width="500" height="350">
Thanks to the v-bind directive, you can create a reactive bond between the attribute (an HTML element attribute) and the argument (data from the Vue app).
In a more sophisticated way, this directive allows you to bind an attribute dynamically to an expression. In simple terms, it allows you to use dynamic values.
However, it can become tedious to add the v-bind all the time. As a result, you can add the colon symbol (:) in front of the attribute. Like in the code snippet below. The colon is the shorthand for "v-bind".
<img :src="imgURL" :alt="imgDescription" width="500" height="350">
Now, if you use the image in multiple places and want to change the description and/or image link, you only have to do it once in the Vue instance.
One caveat
When you see an example of attribute binding such as :src="imgURL", you can think of it as :src="{{ imgURL }}". Vue treats it the same.
Conclusion
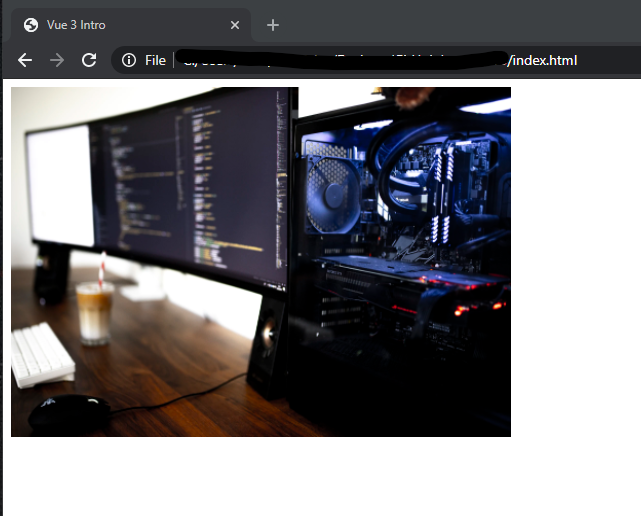
If you open your application, you should see the following image.

In a similar fashion, you can use attribute binding for the HTML a href attribute, for CSS classes and so on.
Become a Vue.js developer and get hired with the complete Vue mastery course.

