This post teaches you how to generate Swagger documentation for your Next.js API. You also learn how to generate the OpenAPI Specification required by Swagger.
In simple terms, an OpenAPI Specification is a document describing the structure of a REST API and how to interact with it. It contains information such as:
- the endpoints and their associated HTTP method
- a description of those endpoints
- the optional and required parameters
- authentication methods
- and the responses
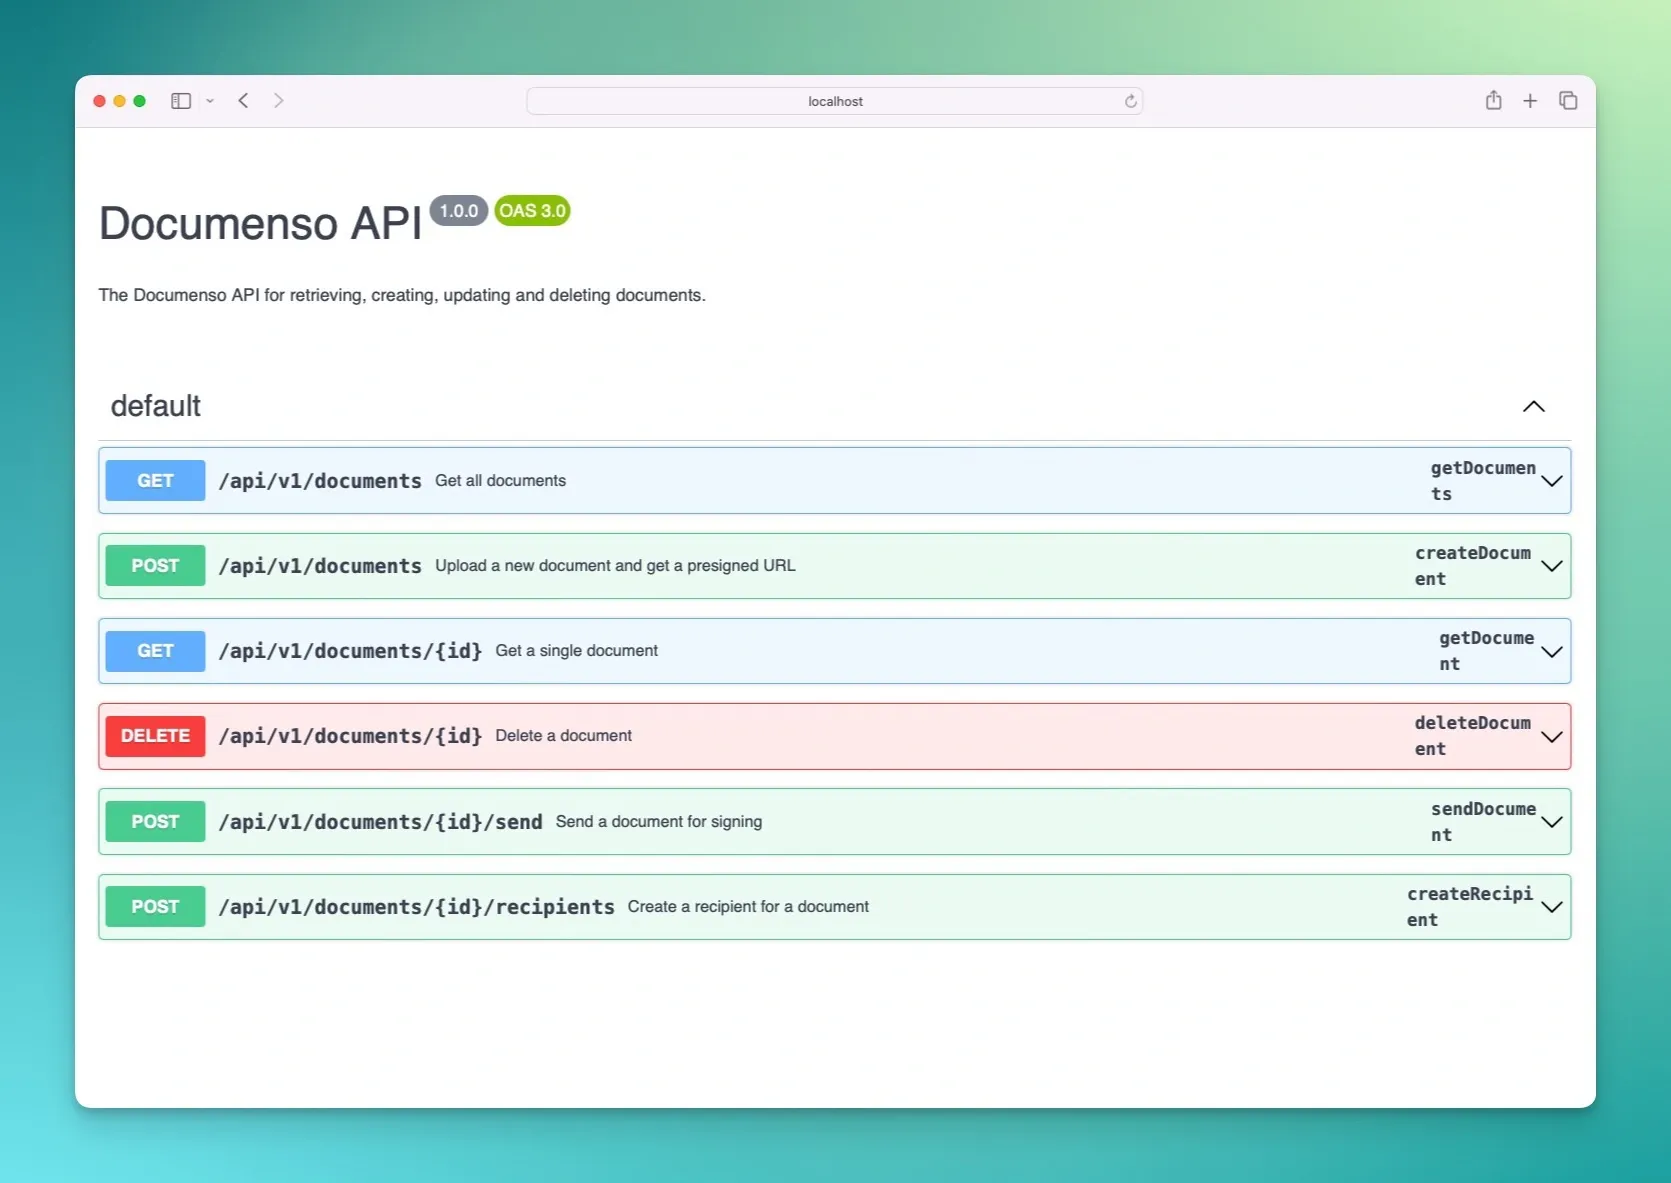
On the other hand, Swagger Documentation (Swagger UI is the correct name) is part of a suite of open-source tools used to interact with the OpenAPI Specification. Swagger UI generates an interactive web interface (documentation) for the provided API, and it uses the OpenAPI Specification to do it.

The image shows the Swagger UI (documentation) for the public Documenso API.
How to generate OpenAPI Specification
The first step is to generate the OpenAPI Specification. It's important to mention that this post shows a Next.js API built with ts-rest.
With ts-rest you can seamlessly generate an OpenAPI Specification as follows:
import { generateOpenApi } from '@ts-rest/open-api';

import { ApiContractV1 } from './contract';

export const OpenAPIV1 = generateOpenApi(
  ApiContractV1,
  {
    info: {
      title: 'The title of the API',
      version: '1.0.0',
      description: 'The description of the API',
    },
  },
);
You only need to provide an API contract and some information about your API.
The API contract, ApiContractV1, describes the API structure, request and response formats, and how to authenticate your API calls, among others.
For more information about contracts, read this section about API contracts in ts-rest.
Now that you have the OpenAPI spec, you can create an API route to return it in JSON format. The following code snippet shows you how to do it using the "Pages" router, but you can adapt it for the "App" router.
import type { NextApiRequest, NextApiResponse } from 'next';

import { OpenAPIV1 } from '@documenso/api/v1/openapi';

export default function handler(req: NextApiRequest, res: NextApiResponse) {
  res.status(200).json(OpenAPIV1);
}
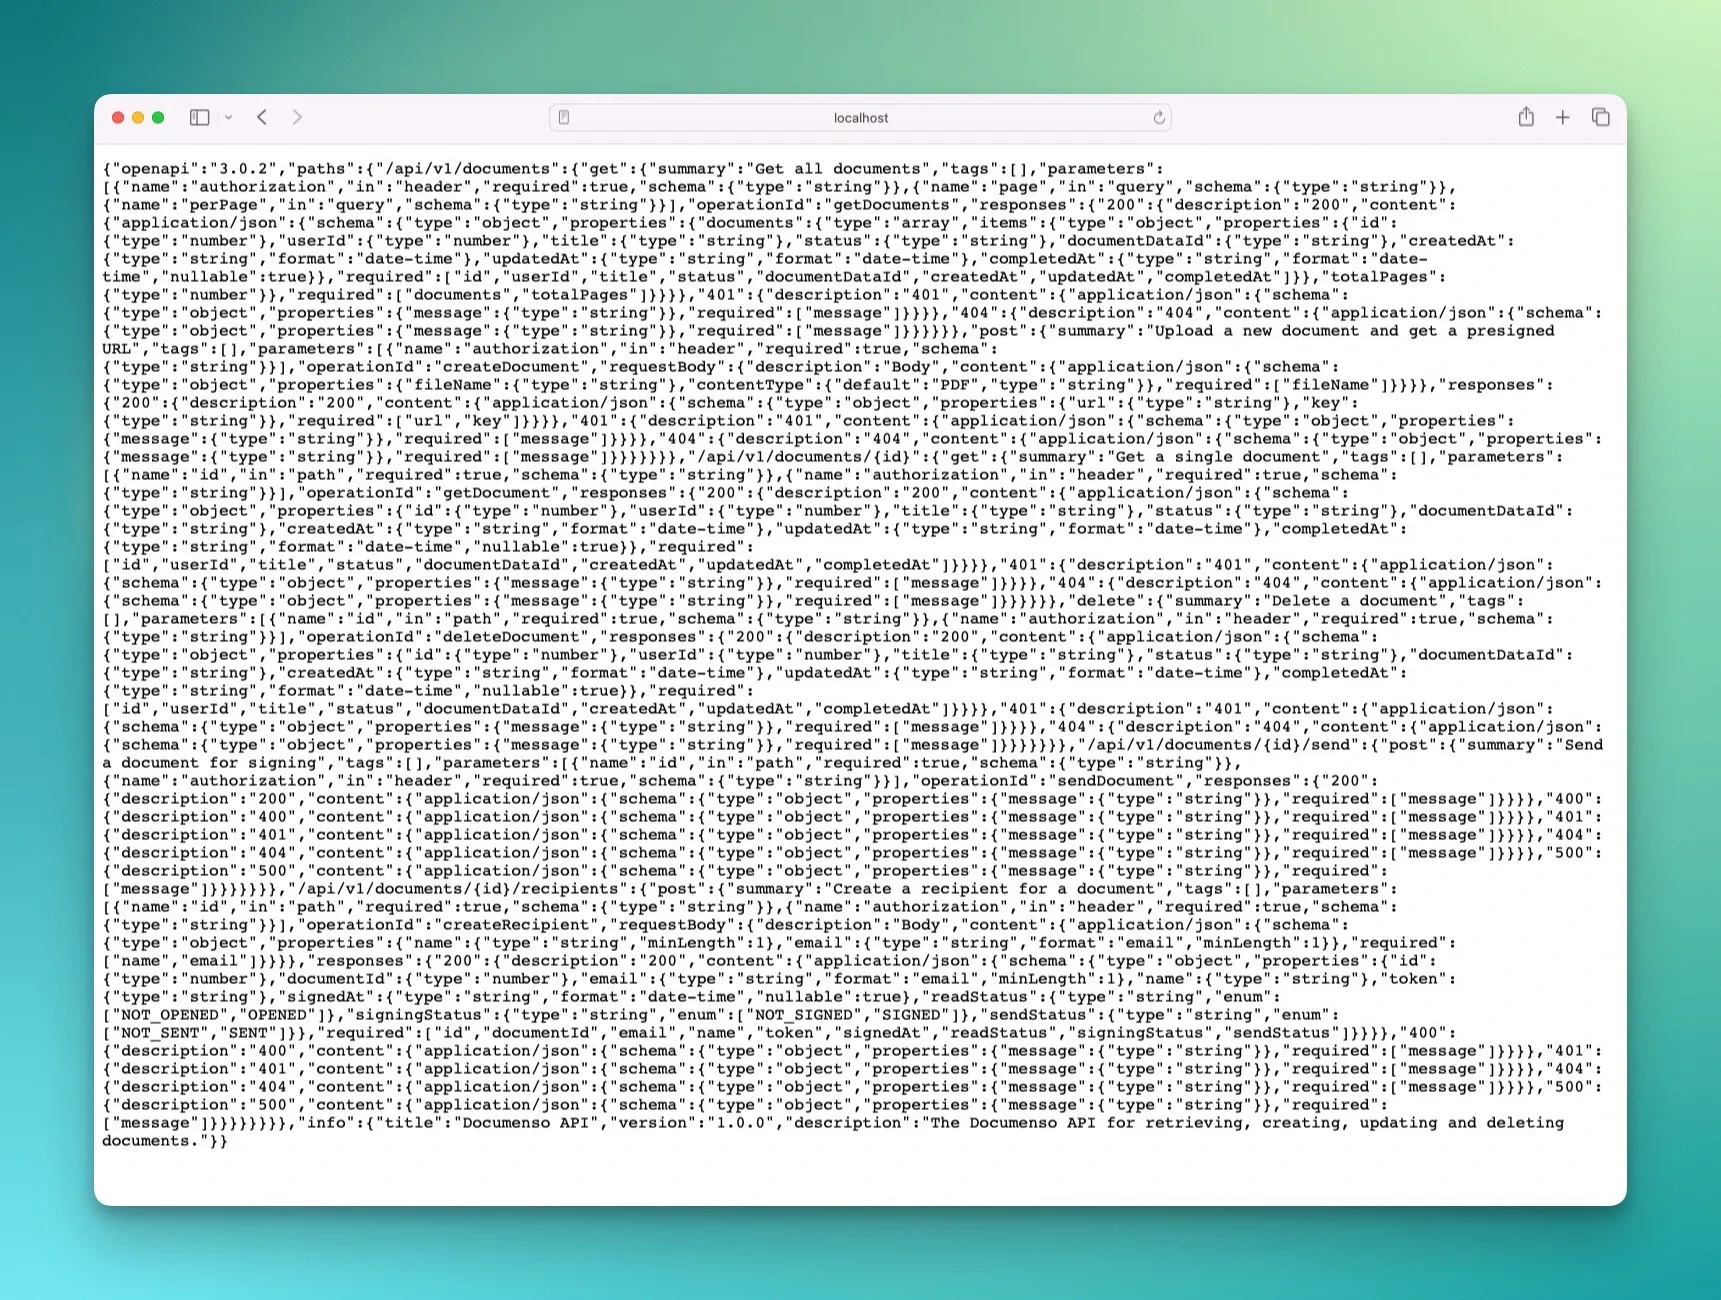
Considering that you placed the code in the /pages/api/v1/openapi.json.ts file, you should see a similar response to the image below if you access http://localhost:3000/api/v1/openapi.json.

The output is quite difficult to read, though. In the next section, you'll see how to generate proper interactive documentation with Swagger UI.
Generate Swagger Documentation from OpenAPI Specification
To generate the Swagger documentation, you need to install swagger-ui-react in your Next.js project.
After that, you need to create a new API route to display the Swagger documentation. That can be done in the app/api/v1/openapi/page.tsx file as follows:
'use client';

import SwaggerUI from 'swagger-ui-react';
import 'swagger-ui-react/swagger-ui.css';

import { OpenAPIV1 } from '@documenso/api/v1/openapi';

export default function OpenApiDocsPage() {
  return <SwaggerUI spec={OpenAPIV1} displayOperationId={true} />;
}
The SwaggerUI component takes the OpenAPI spec as a prop and then generates the documentation from the it.
If you access http://localhost:3000/api/v1/openapi, you should see the auto-generated API documentation.

You can interact with the documentation by clicking on any endpoint. Doing it opens a new section where you can see more information, such as parameters and responses. It even allows you to make requests.
So, the auto-generated documentation is helpful for API users who want to explore and interact with the API before implementing it in their apps.
Note: The code is extracted from the Documenso project, which uses both the "Pages" and "App" routes for APIs. Feel free to adjust the code so it works with your code.
P.S: Learn how to extend the session object in NextAuth.
