

If you are using the default terminal on macOS and reading this article, chances are you are dissatisfied with it.
I do not blame you, though. The default macOS terminal looks outdated and it also lacks many features.
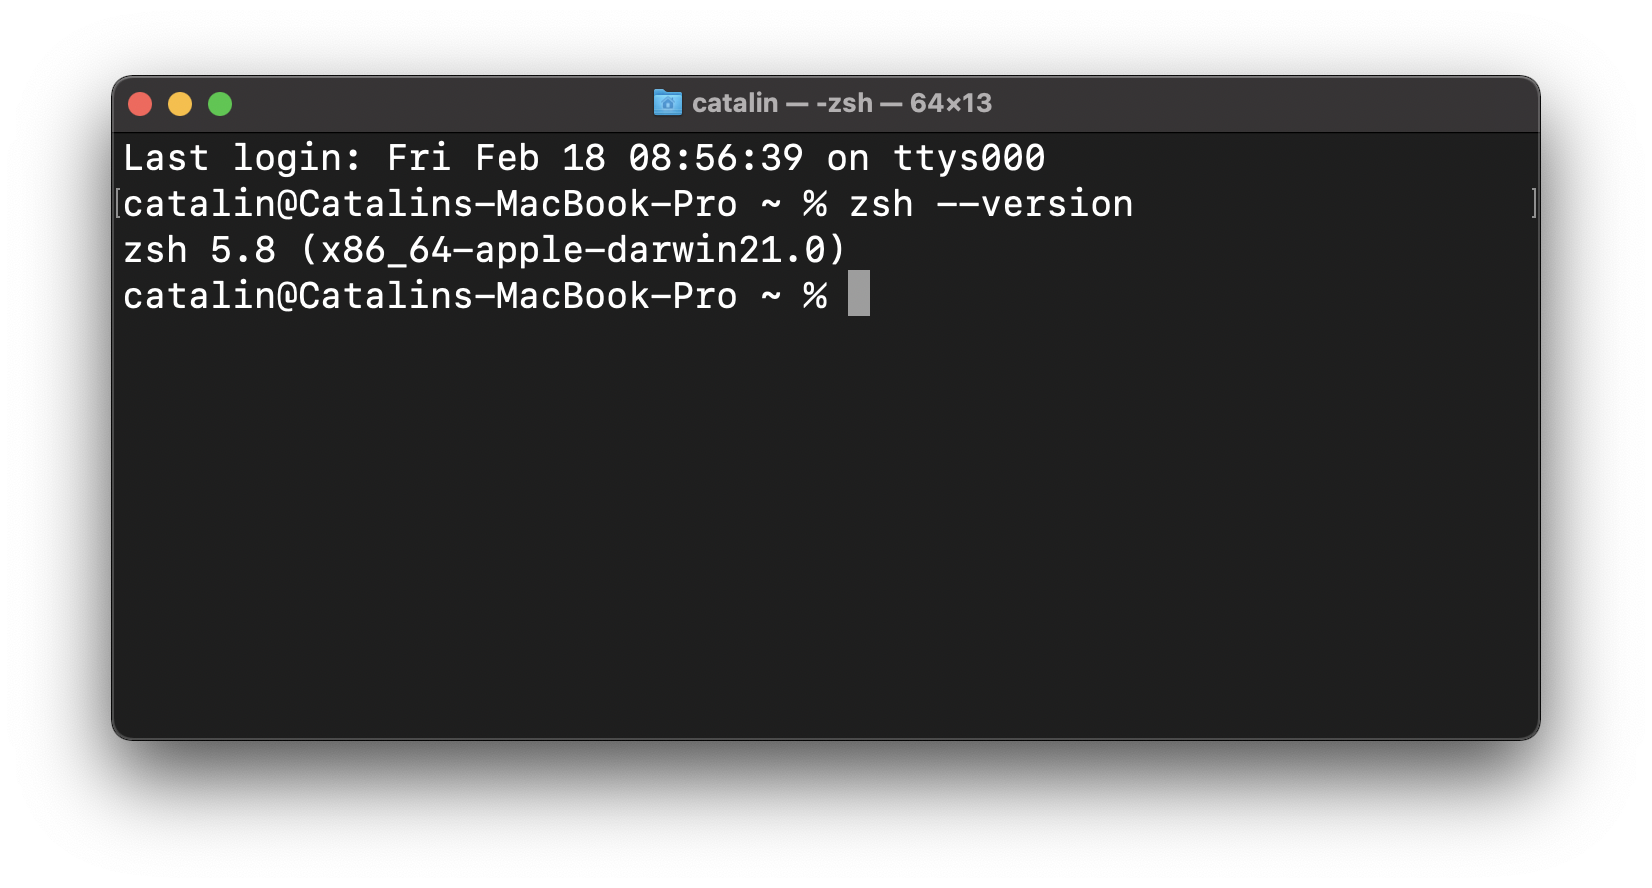
Figure 1
I mean, look at it! It does not look very exciting.
Fortunately, there are tools to improve the terminal and experience considerably. In this article, you will learn how to do that with the help of iTerm2 and oh-my-zsh.
These two tools improve the look and feel of the terminal. They also bring additional, useful functionalities that enhance your workflow and productivity.
Pre-requisites
Before going further, you should have homebrew and zsh installed on your machine. If you already have them, you can skip this section.
Otherwise, you can install homebrew by running the following command in your terminal:
/bin/bash -c "$(curl -fsSL https://raw.githubusercontent.com/Homebrew/install/HEAD/install.sh)"
After installing homebrew, you can use it to install zsh. Run the following command in your terminal:
brew install zsh
Now you are ready to proceed further.
iTerm2 Terminal
iTerm2 is a terminal emulator for macOS and it comes with a handful of convenient features. Some of them are:
- split panes
- autocomplete for commands
- paste history that allows you to visit recently copied > pasted text
- in-built password manager
- search that highlights all matches
- return in time if you need to recover erased text
These features are super handy when you work with the terminal every day. You can think of "iTerm2" as a supercharged terminal.
Install iTerm2
You can install iTerm2 by downloading it from the official website or by using the "brew" command.
If you choose the "brew" command, open your terminal and enter:
brew install --cask iterm2
After the installation finishes, you can use the new terminal right away. Open the "Launchpad" or the "Application" folder on your Mac, and you should see the application "iTerm".
You can now move on to the next step - installing "oh-my-zsh".
oh-my-zsh
You can install oh-my-zsh by using either curl, wget or fetch. Open the newly installed terminal - iTerm, and run:
sh -c "$(curl -fsSL https://raw.github.com/ohmyzsh/ohmyzsh/master/tools/install.sh)"
If you want to use wget or fetch, replace the word curl with your preferred choice.
Once the installation finishes, you should see an improved terminal.
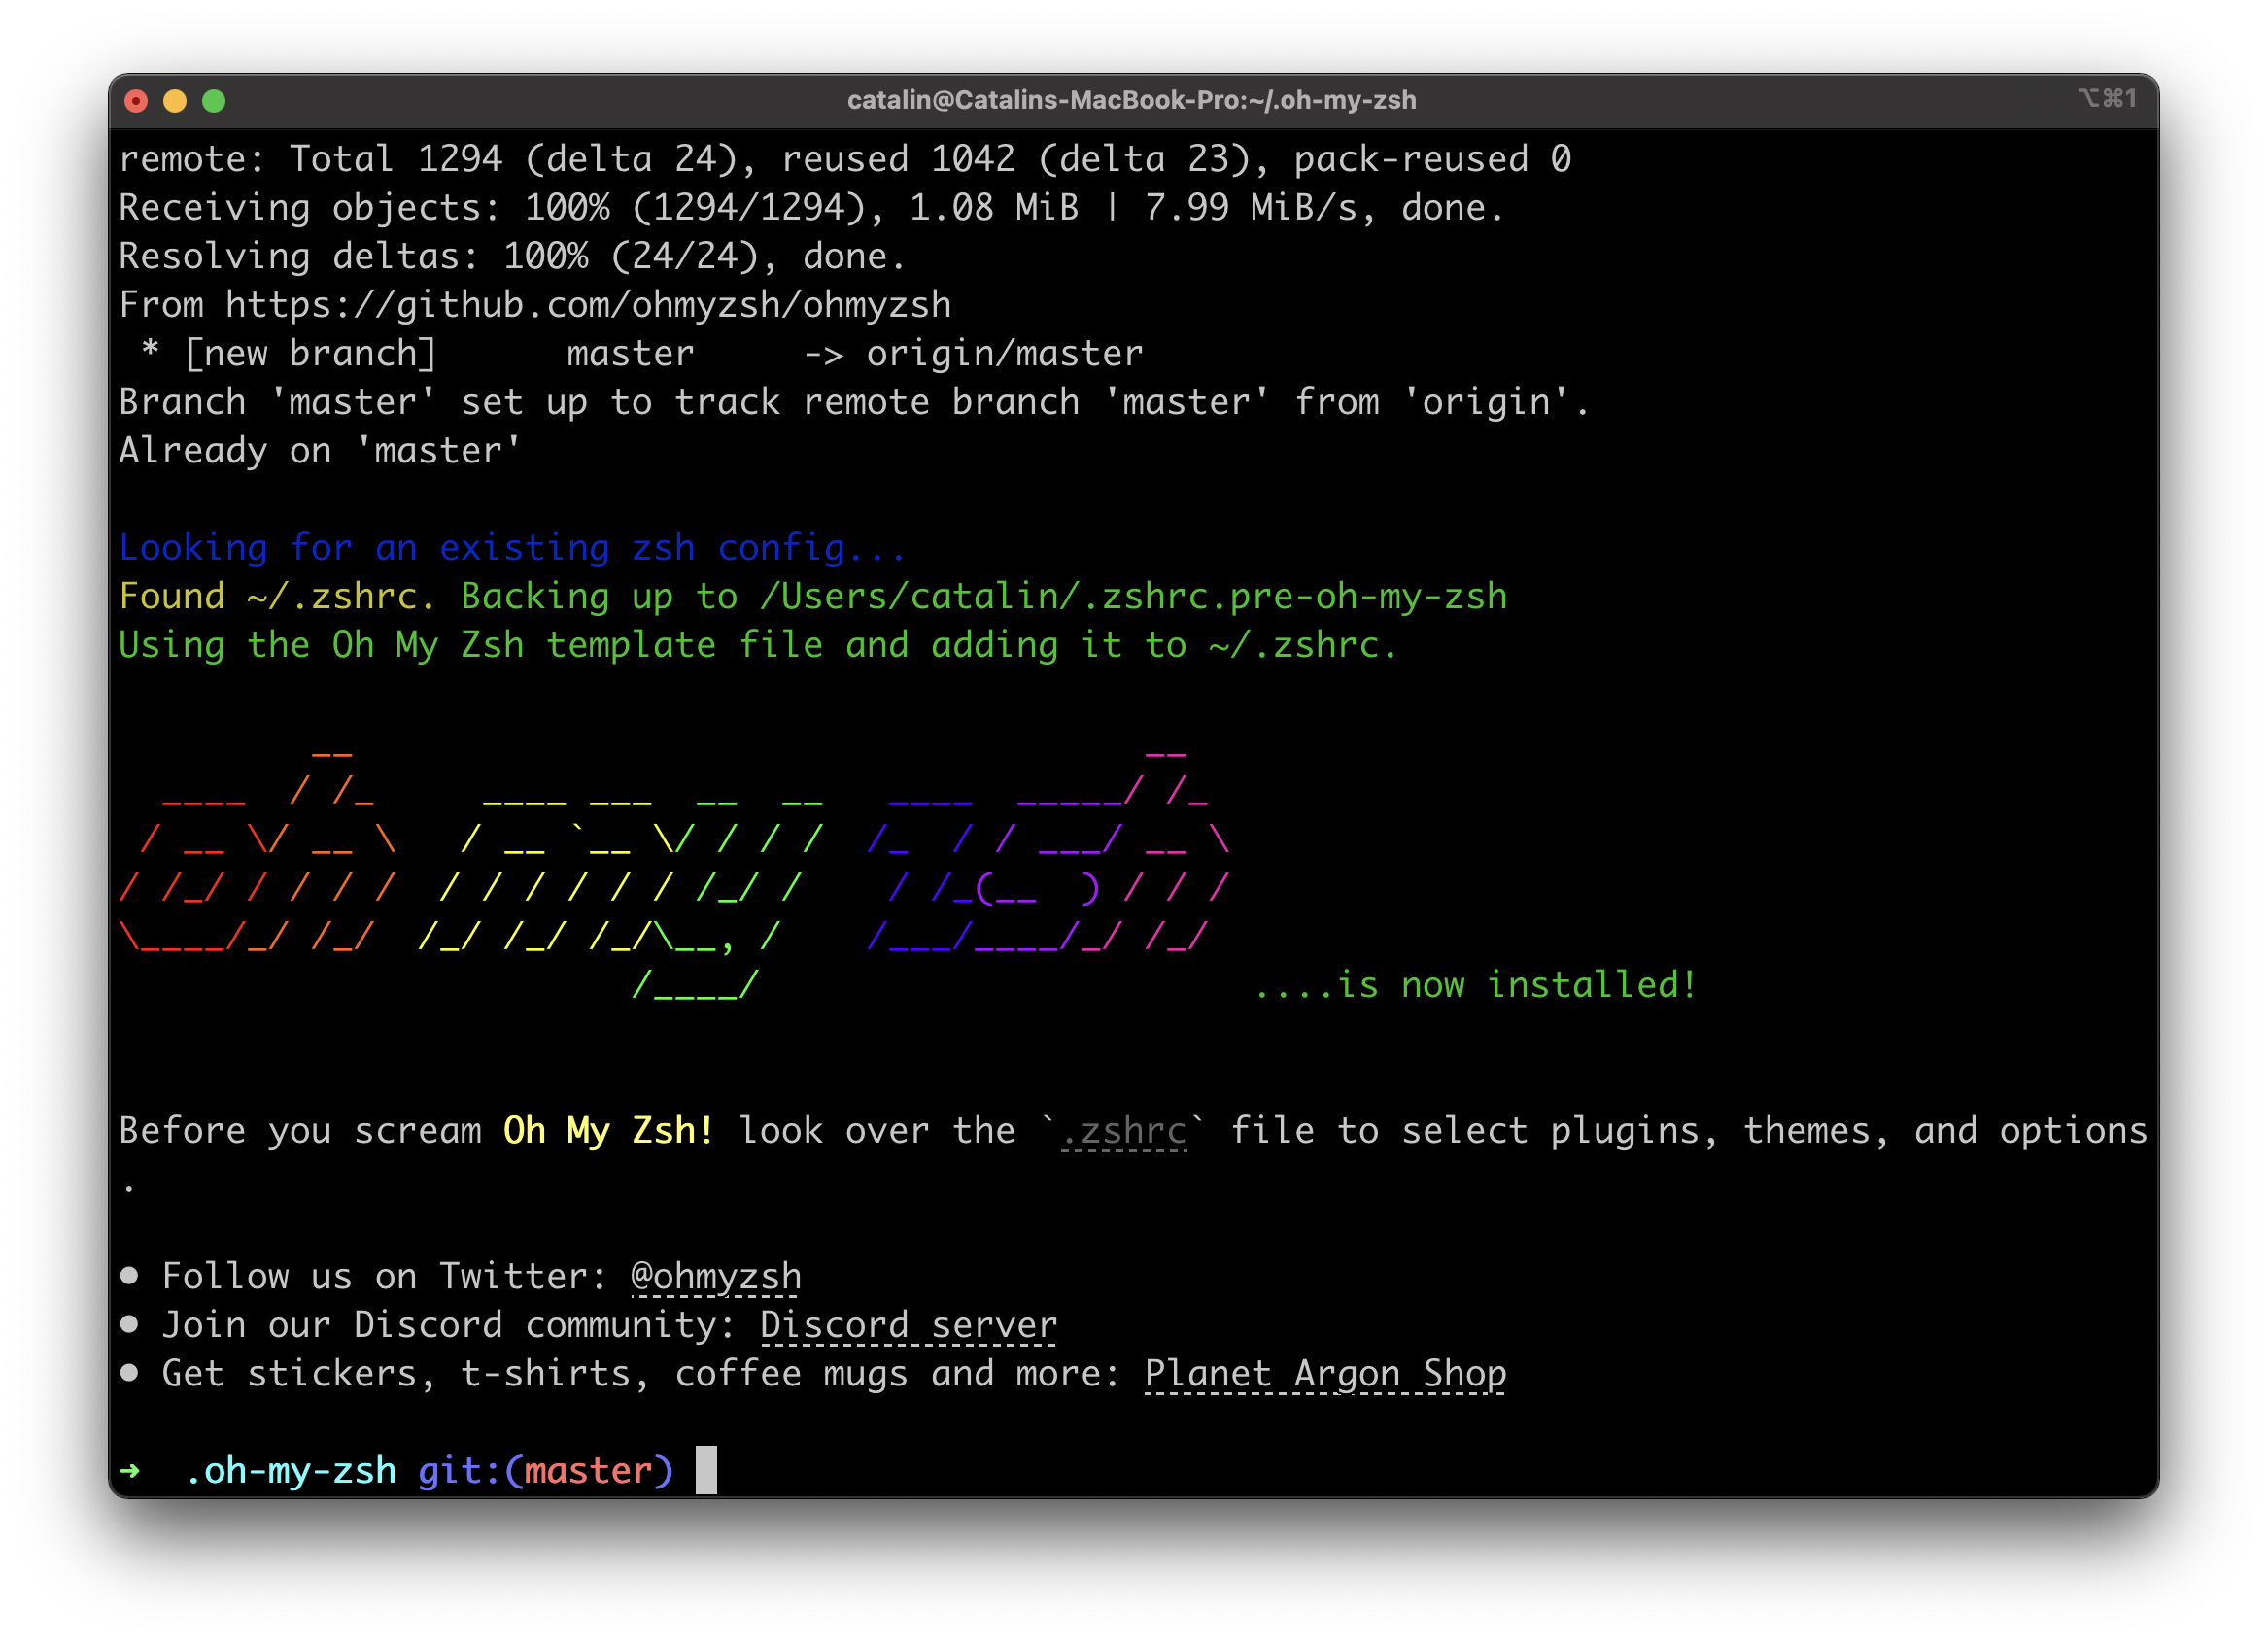
Figure 2
As you can see, the terminal has a better look already. You can stop here and leave it like that if you are happy with it. But the fun only begins now! You can install themes and plugins to further customize your terminal.
oh-my-zsh Themes
Whenever you want to make changes to your terminal, you do it in the .zshrc file. That's where you can change the theme or manage your plugins.
Open the .zshrc file in your favorite editor and find the field called ZSH_THEME. Replace the value "robbyrussell" with a theme you prefer from the wiki.
After updating the value, save the .zshrc file, restart your terminal and the changes should be visible!
oh-my-zsh Agnoster Theme
Some themes require particular fonts to work. One example of such a theme is the agnoster theme.
If you choose to use this theme, you need a particular font that supports the characters used by the theme.
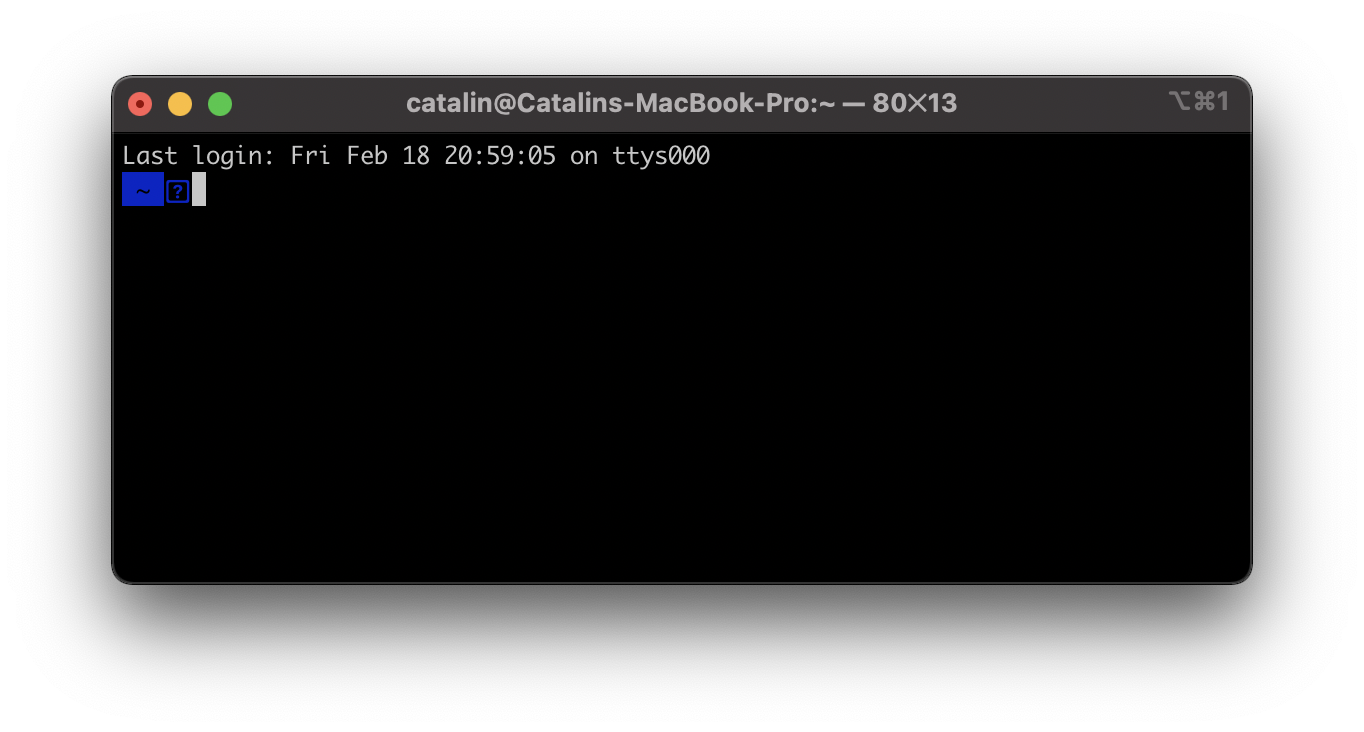
Figure 3
Figure 3 illustrates how it looks without such a font. Ugly, right?
Powerline Fonts
Let's solve the problem by installing the powerline fonts. You can install them by running these commands in your terminal:
git clone https://github.com/powerline/fonts.git
cd fonts
./install.sh
cd ..
rm -rf fonts
After that, open the iTerm terminal, go to the "Preferences" and click on the "Profiles" tab (iTerm2 > Preferences > Profiles).
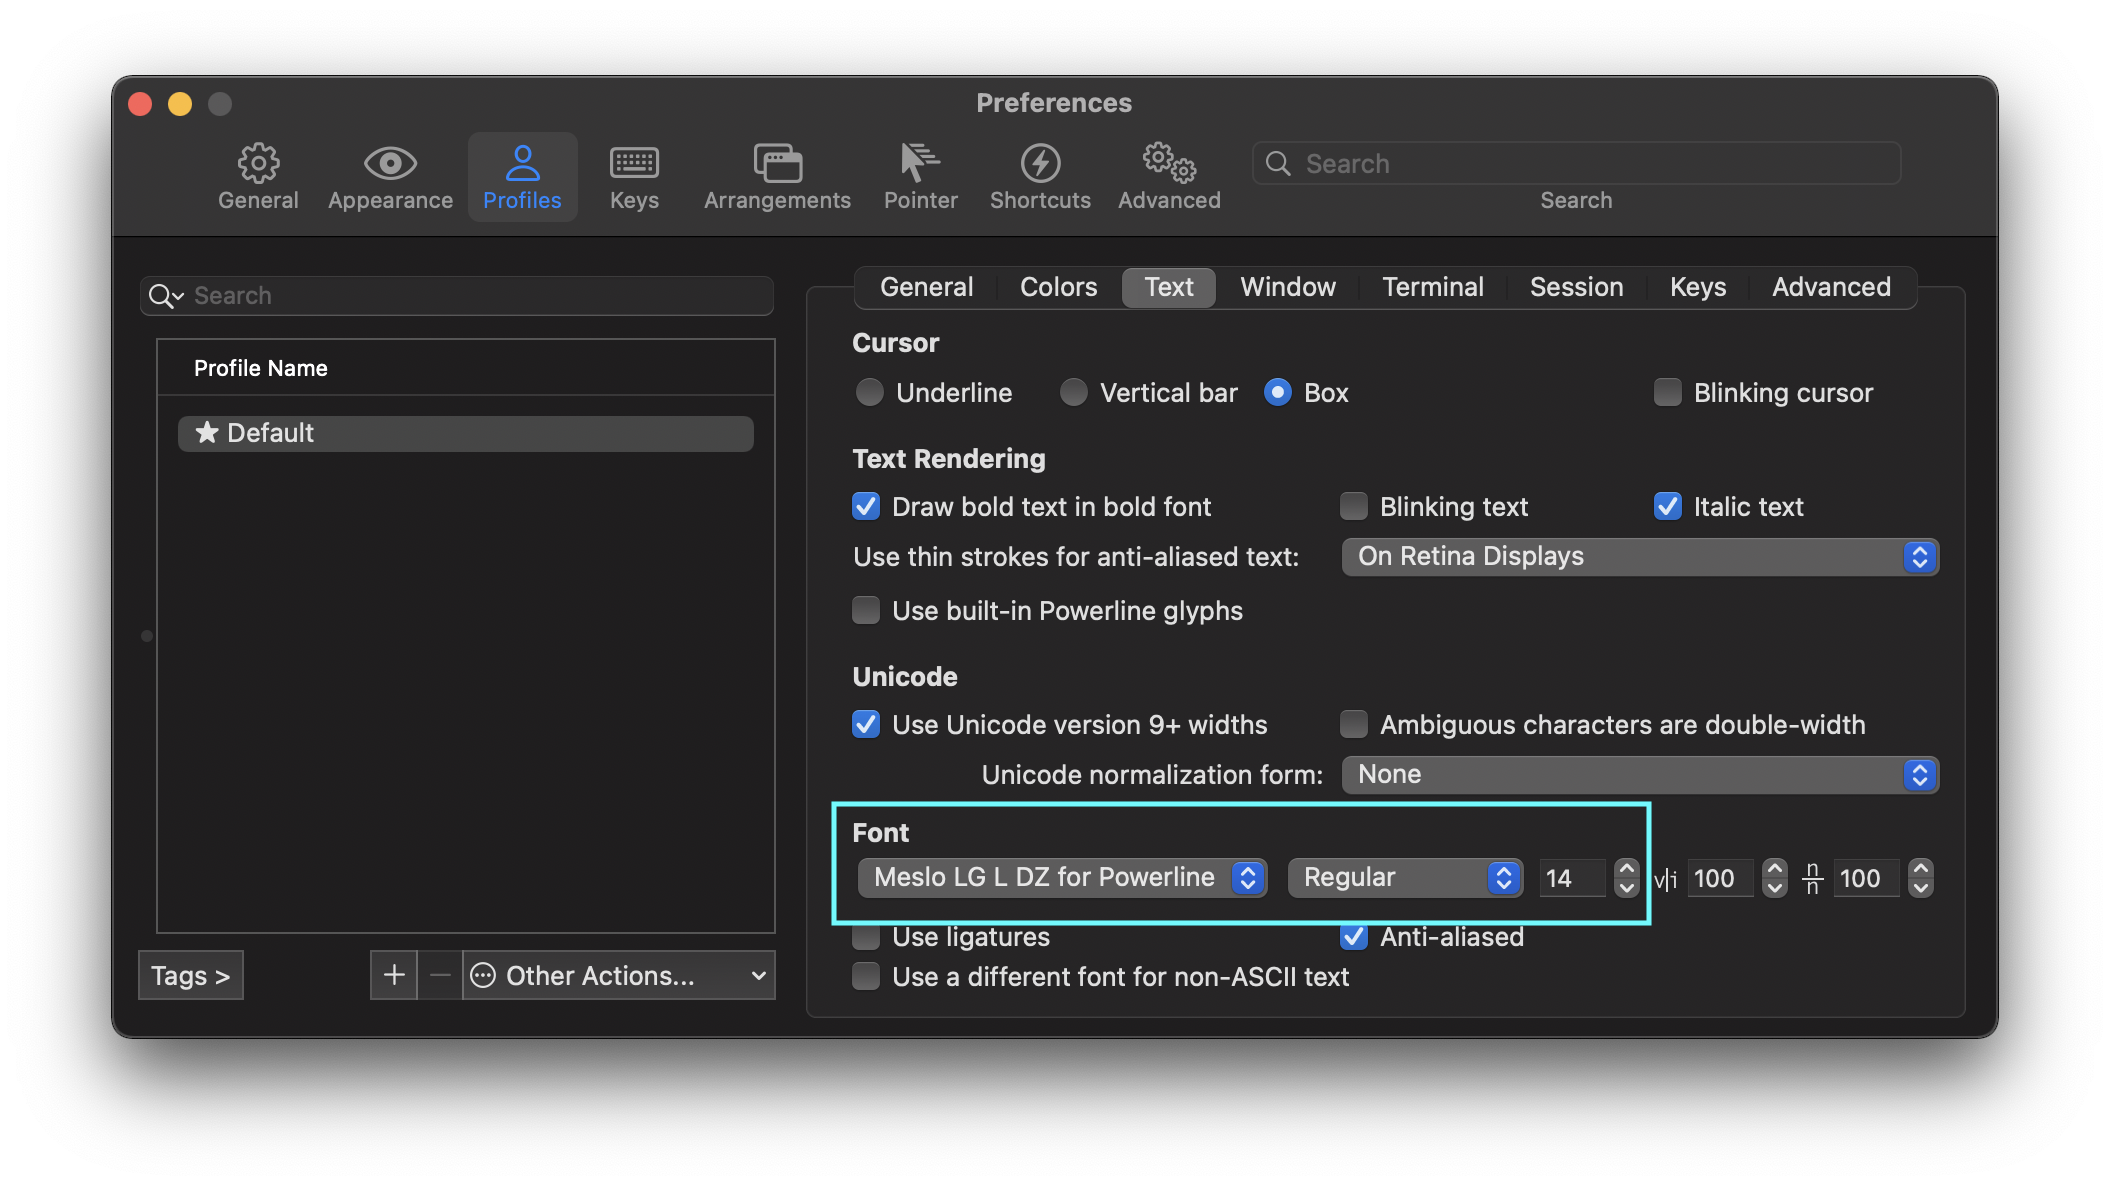
Figure 4
Once there, choose the font Meslo LG L DZ for Powerline, and you are done - the "agnoster" theme works now.
If you open the terminal, you should see something similar to the image below.
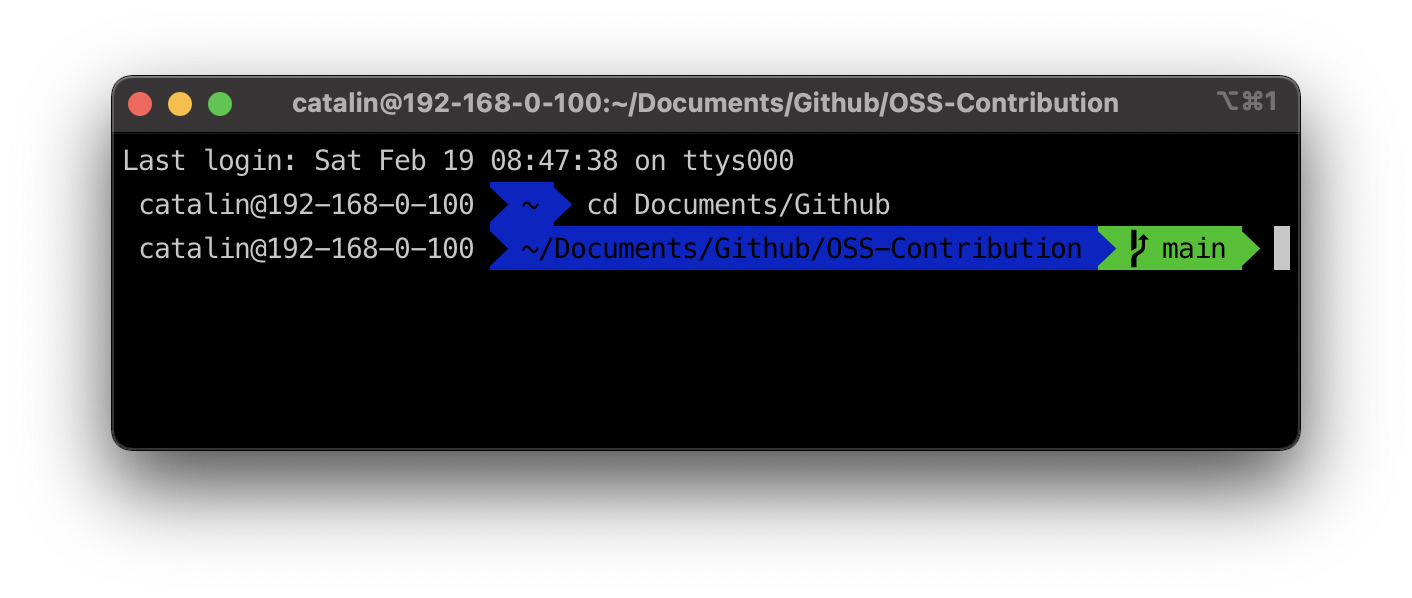
Figure 5
But if you are like me, you might not like seeing your name and the IP address. If that is the case, open the file .zshrc and add the following line at the end of the file:
prompt_context() {}
Save the file and restart the terminal. Much better now, right?
However, if you want to show only your name, you can customize it further:
prompt_context() {
  if [[ "$USER" != "$DEFAULT_USER" || -n "$SSH_CLIENT" ]]; then
    prompt_segment black default "%(!.%{%F{yellow}%}.)$USER"
  fi
}
Now the terminal shows your name without the IP address. Phew, we are almost done! The last step is to customize iTerm's color scheme.
iTerm2 Color Themes
Looking at the newly customized terminal, you might observe that the colors combination is not the best. Fortunately, you can customize that too!
You can download all the available iTerm2 color schemes as follows:
git clone https://github.com/mbadolato/iTerm2-Color-Schemes
After downloading them, go to the iTerm preferences. Then go to the "Profiles" tab and the "Colors" tab.
Click on "Color Presets" and a drop-down appears where you should see an option called Import.
(iTerm2 > Preferences > Profiles > Colors > Color Presets)
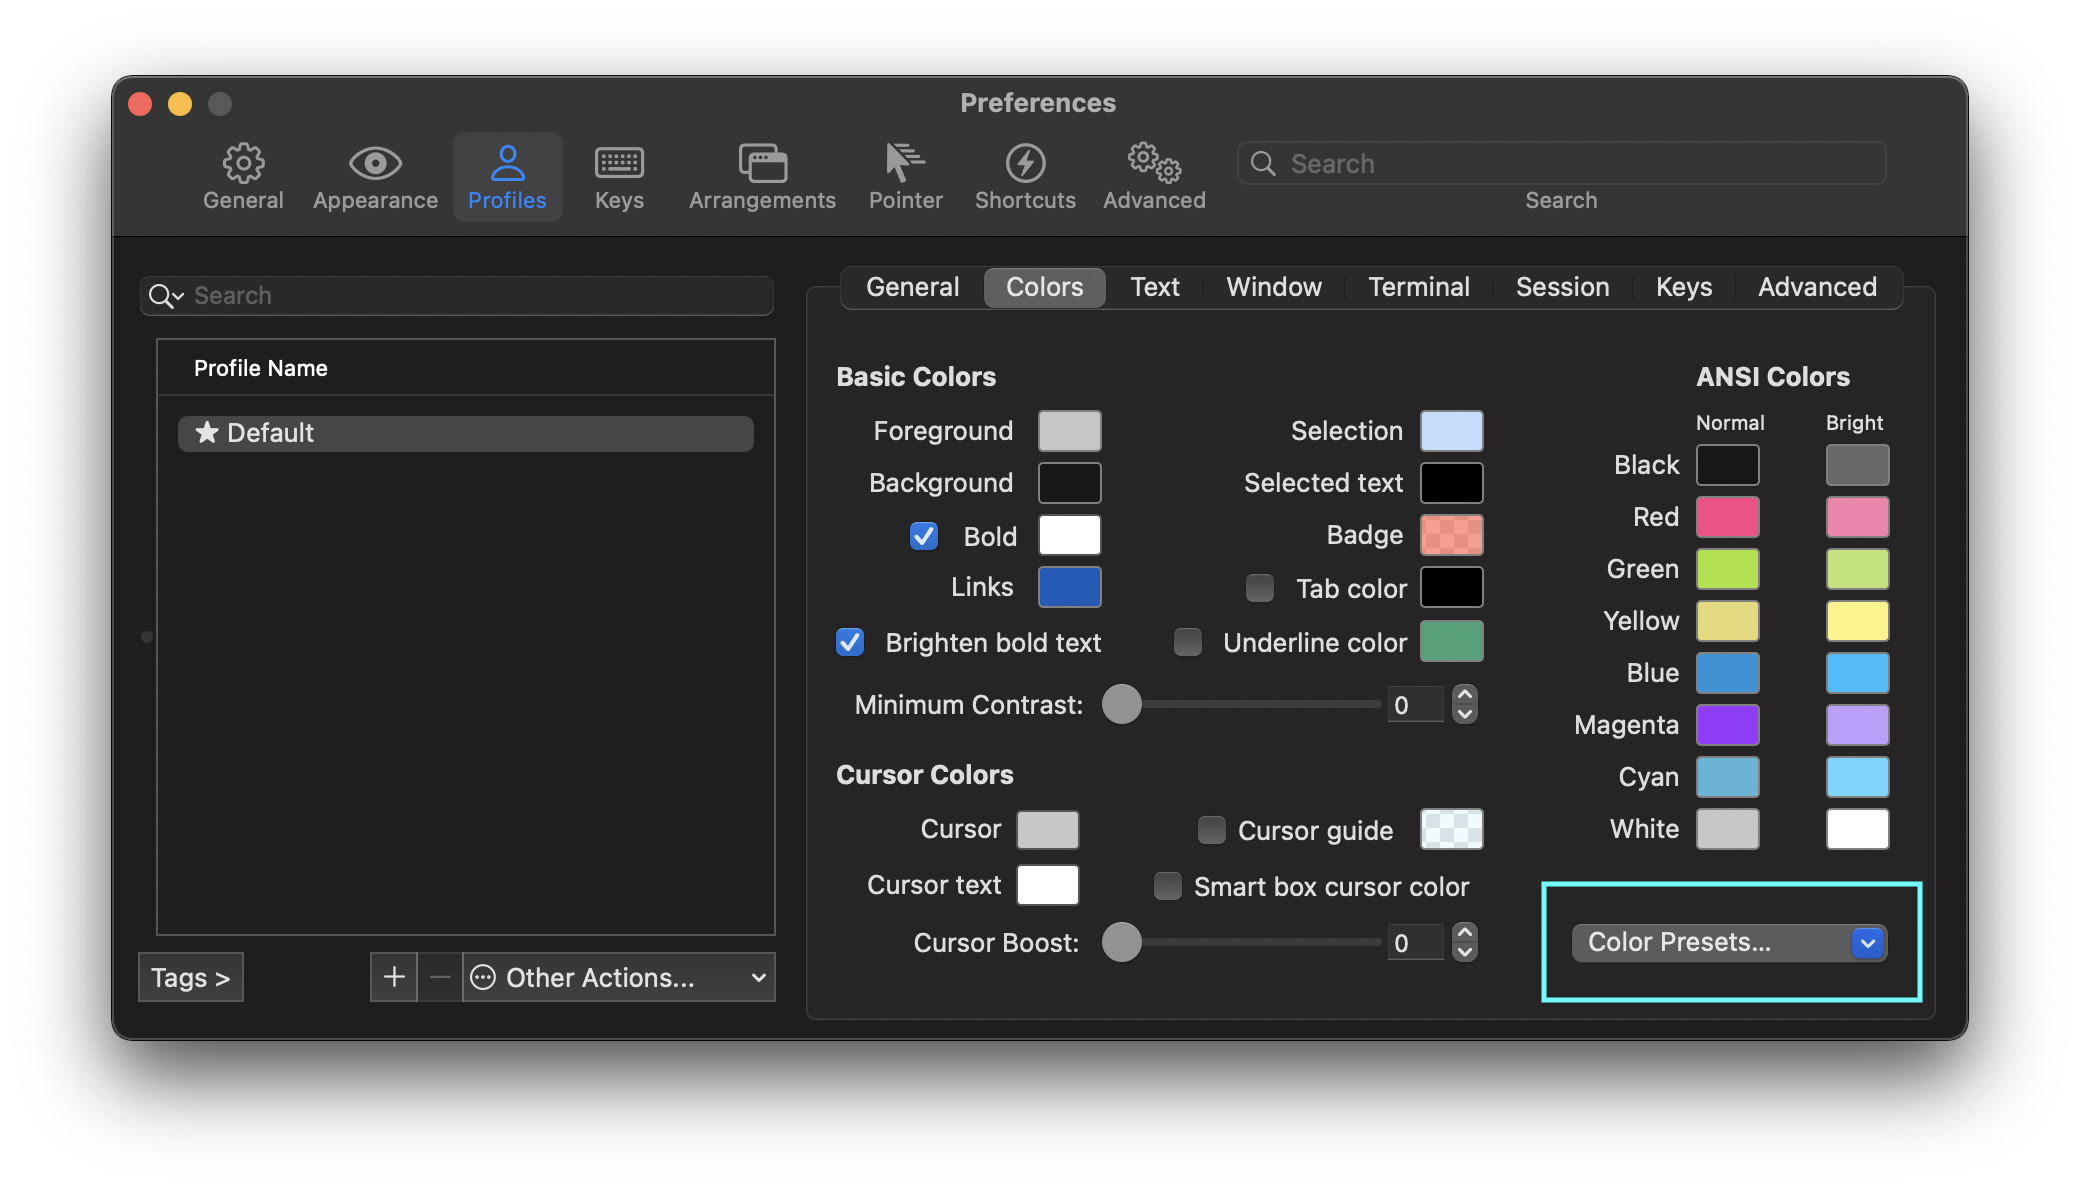
Figure 6
Click on the "Import" option and then import all the files from the "iTerm2-Color-Schemes/schemes" folder (it's the folder you downloaded earlier).
Once the import finishes, you can click on "Color Presets" and choose any color scheme.
In my case, I use "Molokai". In the picture below, you can see my terminal.
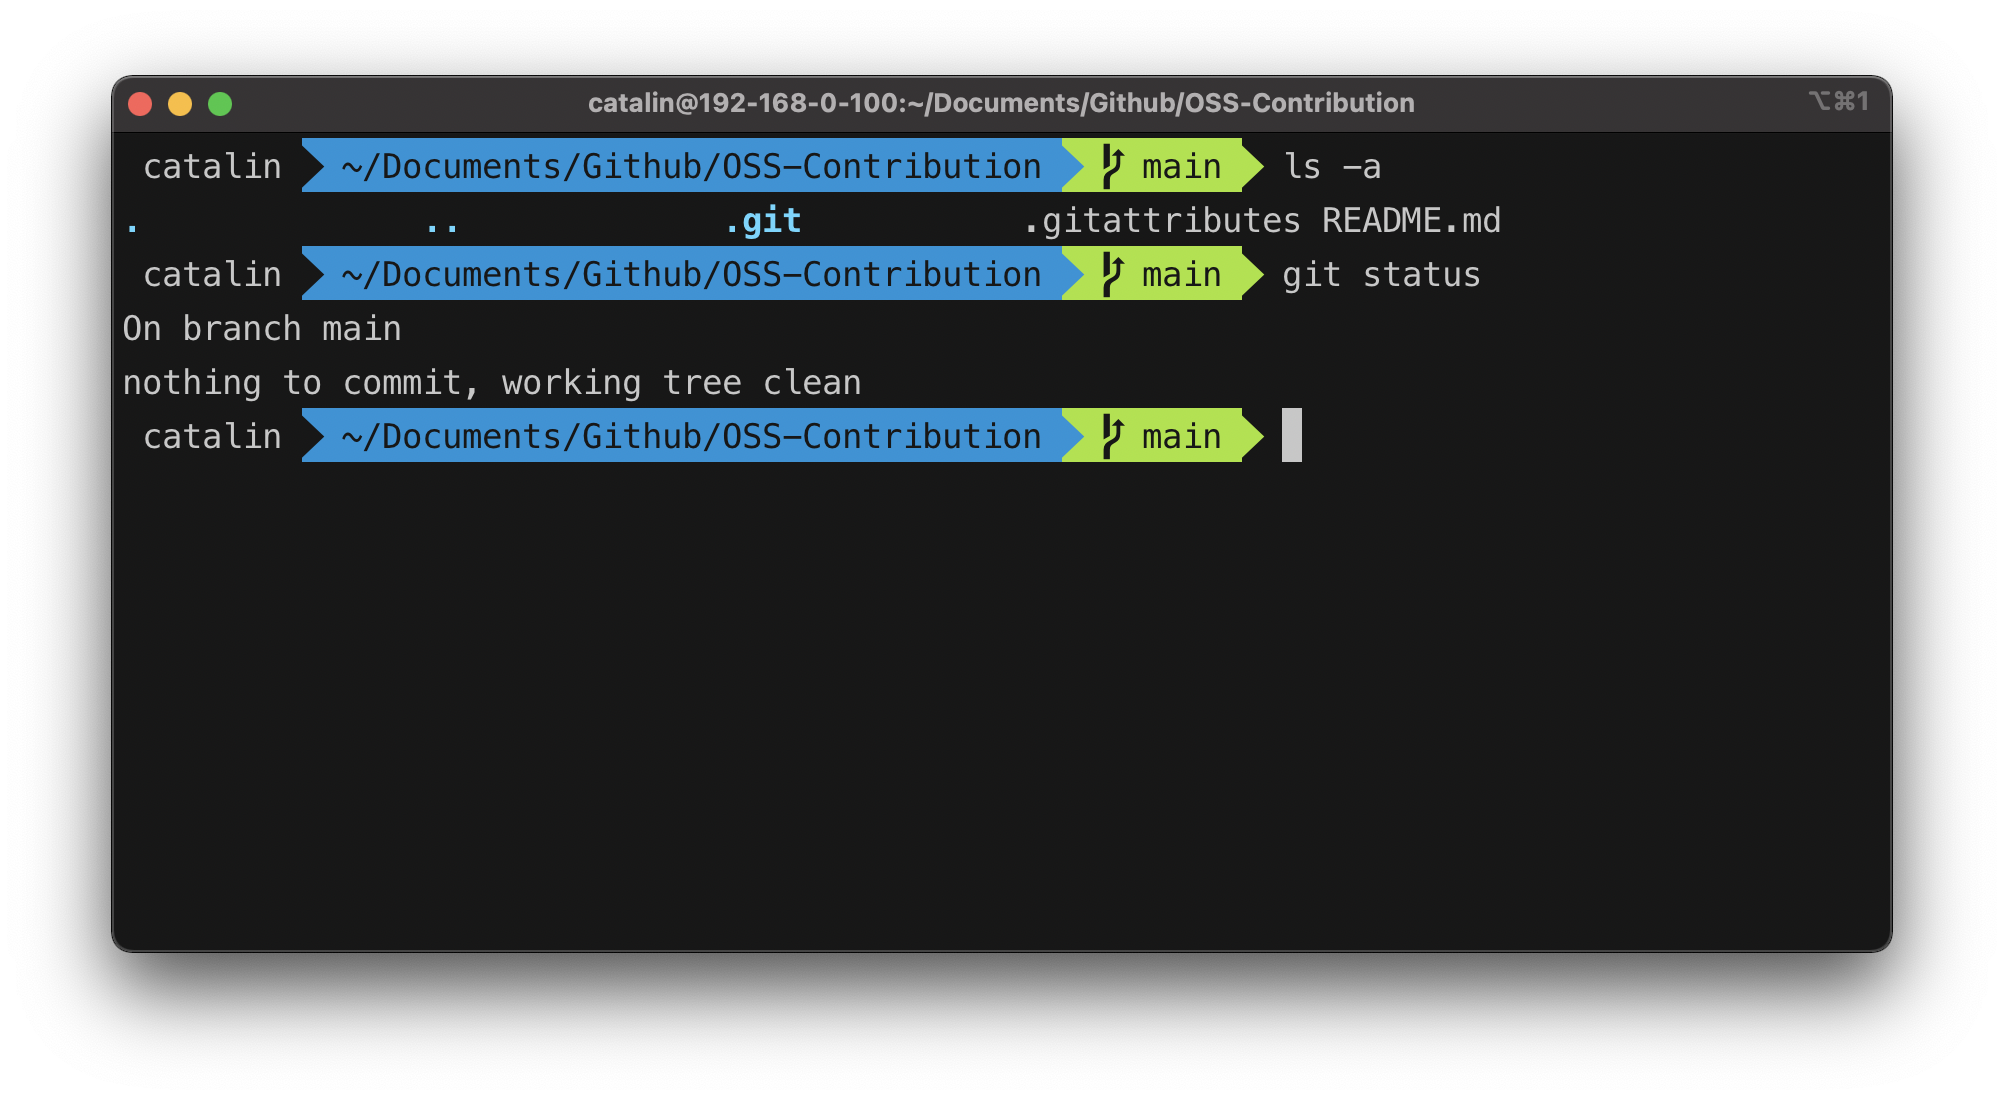
Figure 7
Can we agree that it looks a lot better than the default macOS terminal?
oh-my-zsh Plugins
The "oh-my-zsh" plugins add new functionalities to your iTerm terminal.
One example is the git plugin that gives you aliases and functions. In simpler terms, this plugin creates shortcuts for git commands. For instance, instead of writing git add --all, you can use gaa. That's what we call Git aliases.
See my favorite Zsh aliases.
How to Install Plugins
In the .zhsrc file, you have the plugins property, where you can add the plugins you want. By default, oh-my-zsh comes with the git plugin installed.
As an example, let's install the web_search plugin that allows you to search on the internet straight from the terminal. Open the .zhsrc file and modify the file as follows:
plugins=(
  git
  web-search
)
Save the file and restart the terminal. After that, try this command:
web_search google javascript tutorials
As soon as you press enter, your browser opens a Google search for "javascript tutorials".
That's how you add plugins to your terminal. Before going further, you can check out my article about the 6 must-have Zsh plugins.
Also, the complete list of Zsh plugins can be found in the official wiki.
VS Code Settings
Earlier, you saw that some themes require special fonts. Even though you set the font for iTerm2, it will not work in VS Code.
That means you need to add the font manually in VS Code's settings. Open the settings.json file by pressing CMD + Shift + P.
After that, add the following line anywhere in the file:
"terminal.integrated.fontFamily" : "Meslo LG L DZ For Powerline",
Now the theme should work properly in VS Code as well. Feel free to replace the above font with a font of your choice.
My .zshrc File
My entire Zsh/oh-my-zsh configuration (.zshrc file) is available here.
Recap
At this point, you should have a better-looking and more powerful terminal. It was quite a lot to do, but it's worth it, right?
So what did you learn in this article? You learned how to:
- install zsh and homebrew
- install iTerm2 and oh-my-zsh
- customize iTerm2 and oh-my-zsh
- add Powerline fonts
- change terminal themes
- add new plugins
If you are using a Mac device, you might be interested in these Mac terminal commands.
Also, if you're setting up a new MacBook, checkout this article that shows how to set up a new MacBook easier, faster and more efficient.