
One of the easiest ways of self-hosting N8N is with Dokku.
Dokku is a Platform as a Service (PaaS) that allows you to deploy and manage web applications on your server.
Prerequisites
Before proceeding further, you need the following:
- a VPS (Virtual Private Server)
- a Dokku instance installed on your server
- Postgres plugin for Dokku
- a domain pointed to your server
- Let's Encrypt plugin for Dokku
All of that is explained in one of my posts that teaches you how to self-host with Dokku and Hetzner.
1. Create N8N on Dokku
SSH into your server and create a Dokku application as follows:
dokku apps:create n8nWait for the creation process to finish before moving to the next step.
2. Add Database for N8N
N8N requires a database, so you need to create a PostgreSQL database as well:
dokku postgres:create n8n-databaseOnce the database is created, you need to link the N8N app and the database:
dokku postgres:link n8n-database n8nThe above command sets the DATABASE_URL config variable to the newly created database.
3. Configure N8N
N8N Encryption Key
N8N requires an encryption key to encrypt the credentials before saving them to the database.
The command below generates a random Base64 secret key and saves it under the N8N_ENCRYPTION_KEY env variable:
dokku config:set n8n N8N_ENCRYPTION_KEY=$(echo `openssl rand -base64 45` | tr -d \=+ | cut -c 1-32)
PERSIST DATA
You also want to persist data between restarts, which can be done as follows:
dokku storage:ensure-directory n8n --chown false
chown 1000:1000 /var/lib/dokku/data/storage/n8n
dokku storage:mount n8n /var/lib/dokku/data/storage/n8n:/home/node/.n8n
The above command creates a storage folder on the host machine, sets the appropriate permissions, and mounts the directory into the application’s container.
DOMAINS
The next step involves setting the domain for your N8N app and mapping the internal port 5678 to the external port 80, allowing you to access it from outside your server.
dokku domains:set n8n n8n.your-domain.com
dokku ports:set n8n http:80:5678
HTTPS
It's likely that you also want SSL as well so you can use https. Run these commands in the following order:
dokku ports:add n8n https:443:5678
dokku letsencrypt:set n8n email your-email@mail.com
dokku letsencrypt:enable n8n
Once it finishes, you're ready to deploy the application.
4. Deploy N8N
You'll use the N8N Dockerfile from Fabien. There are 2 ways of deploying the app:
- Git deployment via
dokku git:sync
Dokku allows you to deploy apps straight from a remote Git repository:
dokku git:sync --build n8n https://github.com/d1ceward-on-dokku/n8n_on_dokku.gitThe –-build flag triggers the build process.
- Push manually
Another option for deploying an app is to clone the repository locally and push the changes manually.
You need to clone the repository:
git clone https://github.com/d1ceward-on-dokku/n8n_on_dokku.gitThen, you need to add a Git remote for Dokku:
git remote add dokku dokku@<your-vps-ip>:n8nNow you can push changes & deploy the app:
git push dokku mainI prefer to deploy my apps from my local machine by pushing changes. On the other hand, I deploy apps created by others via the git:sync command.Dokku outputs the app URL once the deployment finishes.
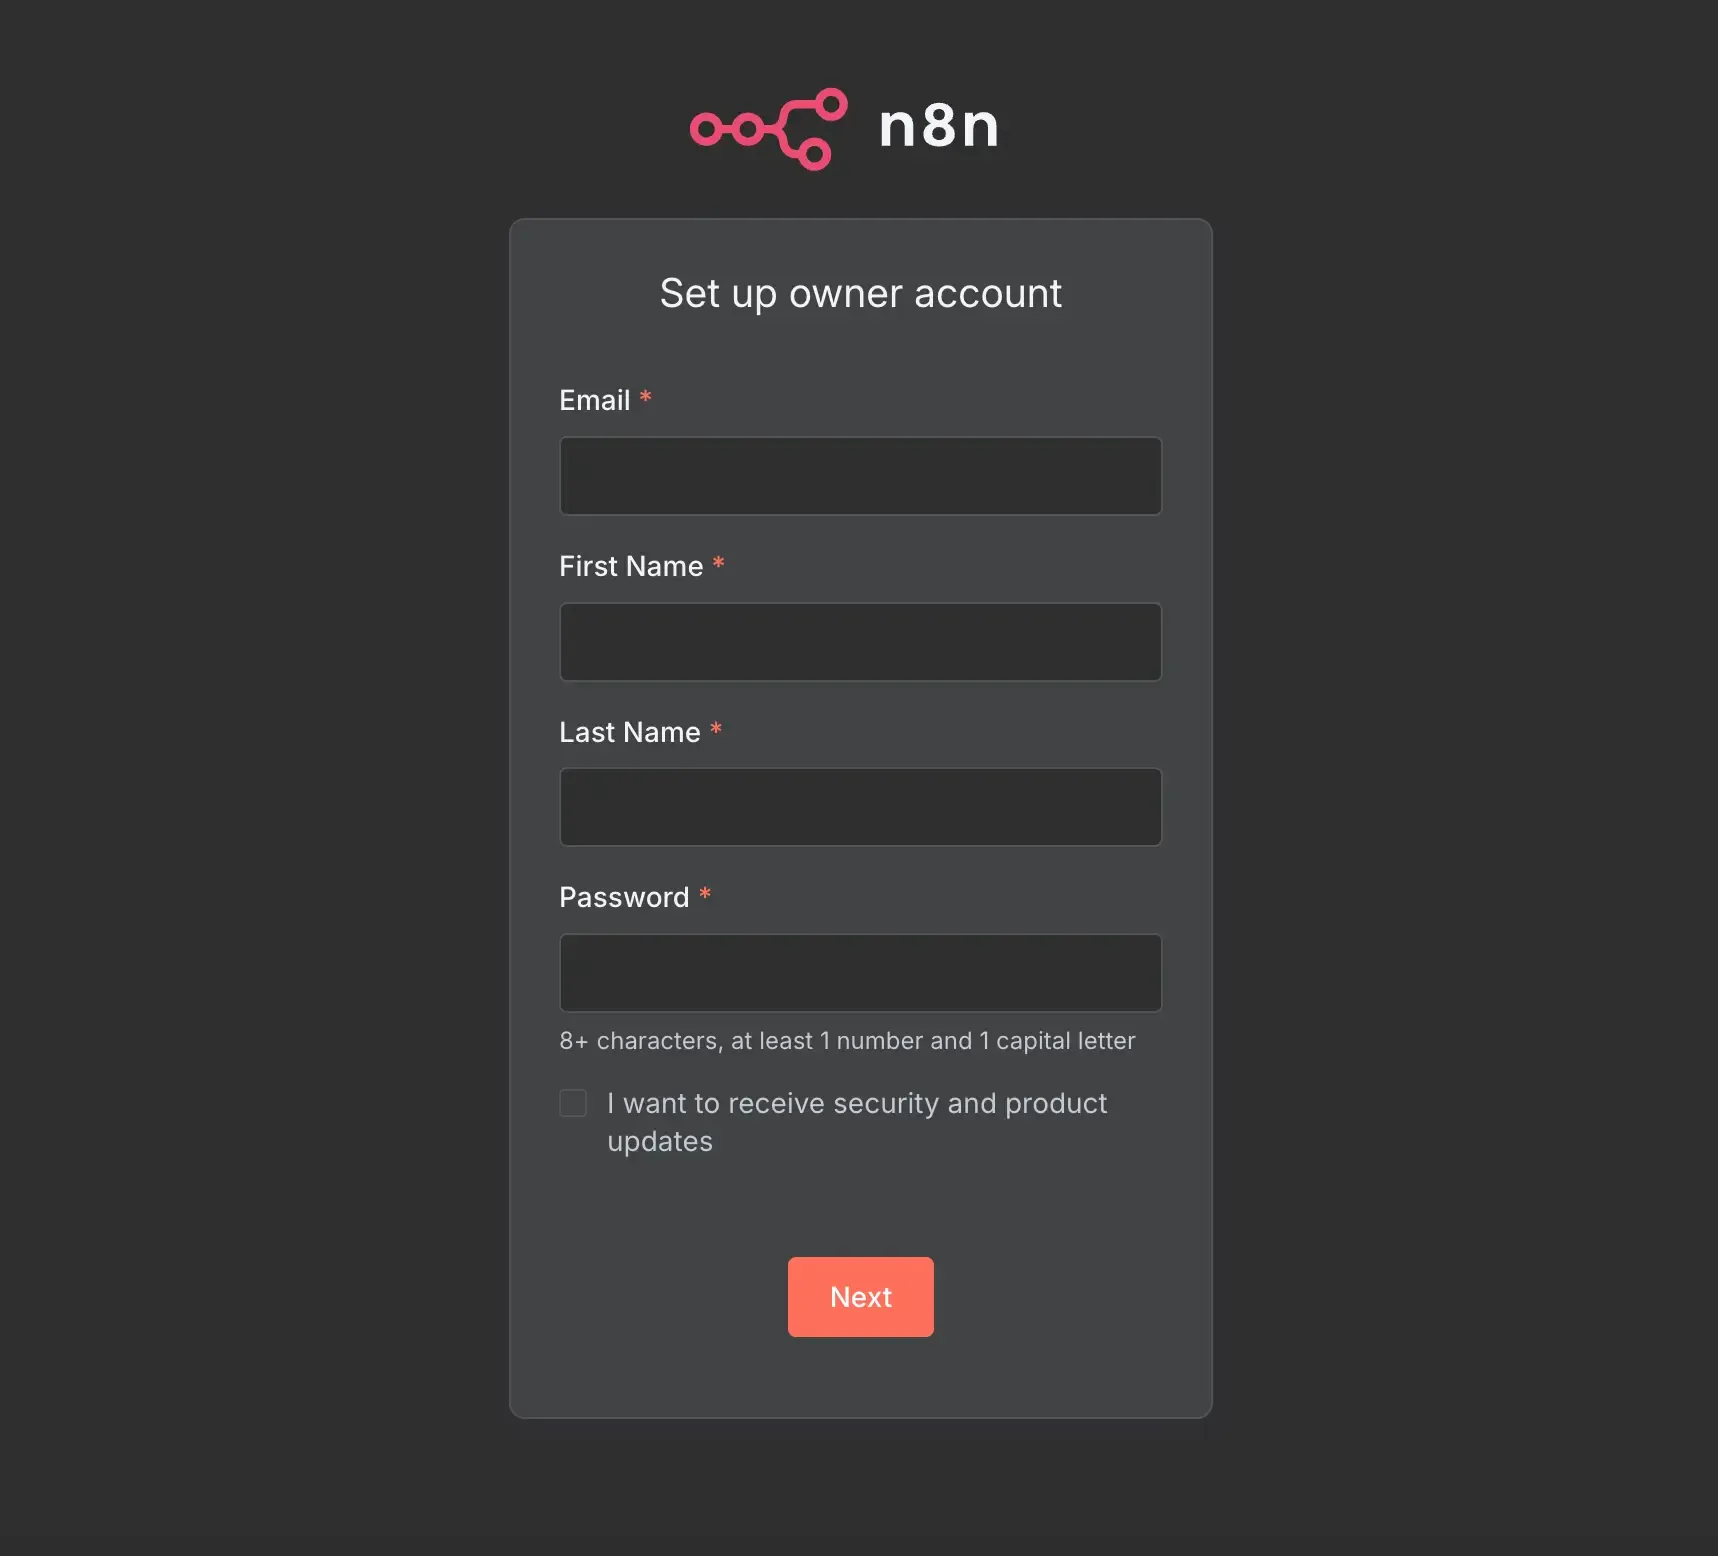
When you access N8N for the first time, it prompts you to create an owner account.
Congrats! You are now self-hosting N8N.