

If you are looking for a quick way to update your project dependencies to the latest versions, you are in the right place. In this article, you will learn how to do it in three steps!
Problem
Let's say you have a project with a couple of outdated dependencies and you want to update them.
Now you might ask yourself:
- how to update them?
- should I update them one by one or all of them in one go?
- what commands or tools should I use?
Solution
The solution is to use the npm-check-updates package, which upgrades your project dependencies to their latest versions.
To use the package, you can either install it globally or use npx. This article shows how to use it with the npx command.
1. The first step is to go to your project's directory and run:
npx npm-check-updates
The above command displays all the outdated dependencies from your project.
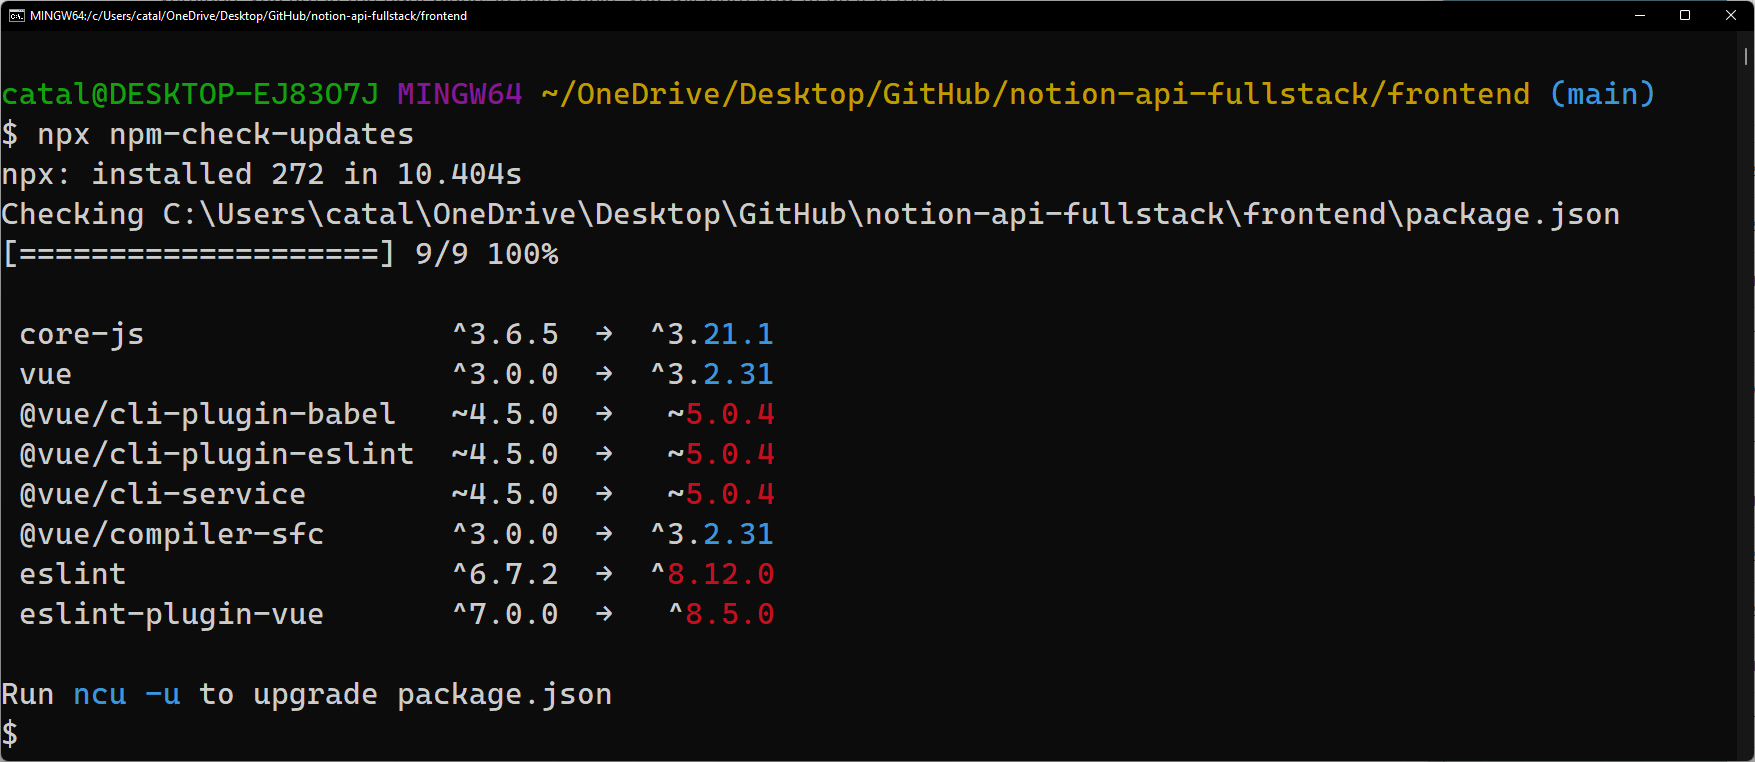
The image illustrates an example output. The output shows the current versions and the latest versions.
2. The next step is to update the dependencies by running:
npx npm-check-updates -u
The command doesn't automatically install the new versions. It just overwrites your package.json file with the latest versions.
That means you have to install them yourself, which takes us to the third step.
3. Install the new versions
The last step is to install the new versions by running:
npm install

// or

yarn install
After the command finishes, you are done! The project will use the latest versions.
Major Versions
It's important to note that the package updates the dependencies even if it's a major version. That could introduce breaking changes, so be careful!