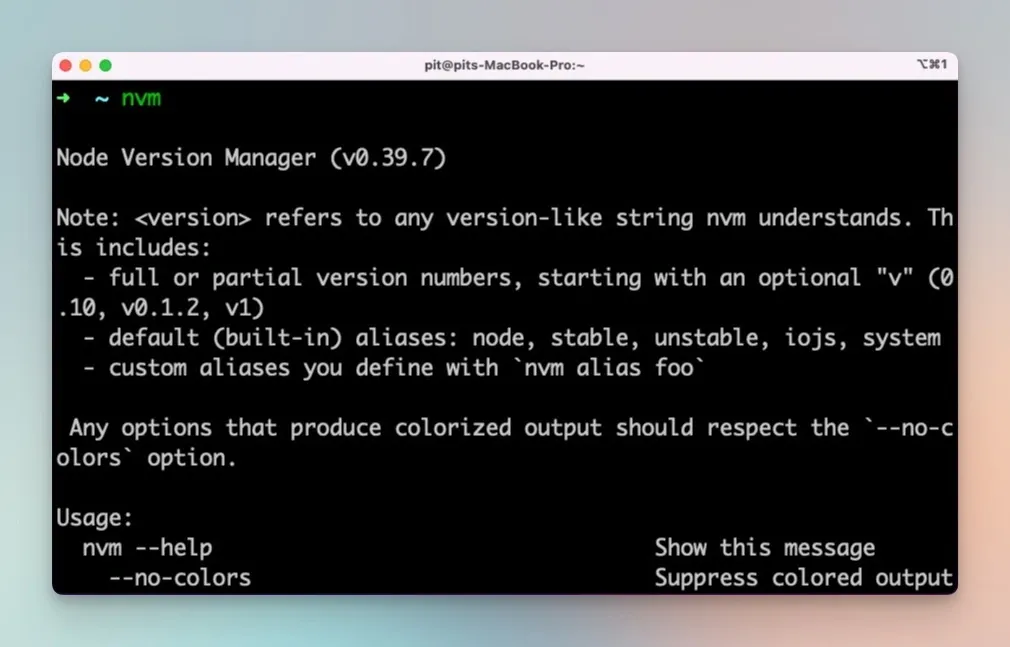
One way of using multiple Node versions is to install and use Node Version Manager (NVM). The process involves downloading NVM, installing it and configuring it manually.
But there's an alternative way of using NVM on macOS if you have oh-my-zsh installed.
Install NVM on macOS with oh-my-zsh
The first step is to clone the plugin repository in the Zsh plugins folder.
git clone https://github.com/lukechilds/zsh-nvm ~/.oh-my-zsh/custom/plugins/zsh-nvmAfter that, you need to add the plugin in the .zshrc file.
plugins=(git nvm zsh-nvm)Wait, but why are there 2 nvm plugins?
The first one, nvm, is the default one that comes with oh-my-zsh. This plugin only provides autocompletion for the Node Version Manager commands. Also, it's not mandatory to install it. Only add the plugin if you want nvm autocompletion.
The second one, zsh-nvm, is the plugin that enables you to use different Node versions.
The last step involves restarting Zsh and loading the new configuration.
source ~/.zshrc
After that, you can start using the nvm commands.

Congrats! You can now seamlessly switch between various Node versions. And before you go, check out the top 6 Zsh plugins you should use.
P.S: If you don't use oh-my-zsh already, you should try it! I wrote an article that helps you improve your terminal with iTerm2 + Oh-My-Zsh.
